
With over 15 years dedicated to counted cross stitch and hand embroidery, she has tested thousands of kits, threads, and fabrics.
How To Embroidery tutorial embroidery
The most popular variant of cross stitch, counted cross stitch embroidery often seems tedious to beginners. Yet it’s often simpler than canvas work. To take the stress out of it, we’ll walk you through every step so you can successfully complete your first counted cross stitch project.
Depending on the pattern All skill levels All budgets 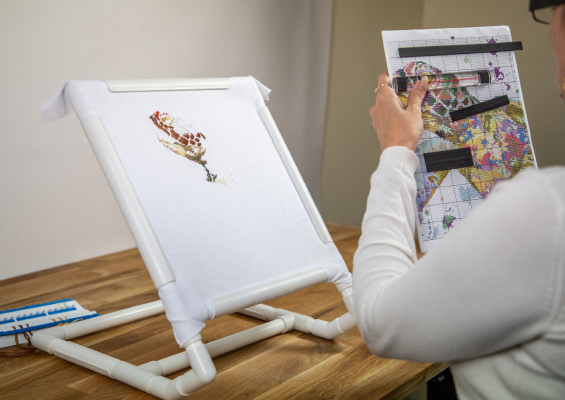
Materials needed and recommended for counted cross stitch embroidery:
- An embroidery kit or fabric, threads and patterns
- A hoop or embroidery frame
- A needle threader
- Embroidery scissors
- A thread organizer
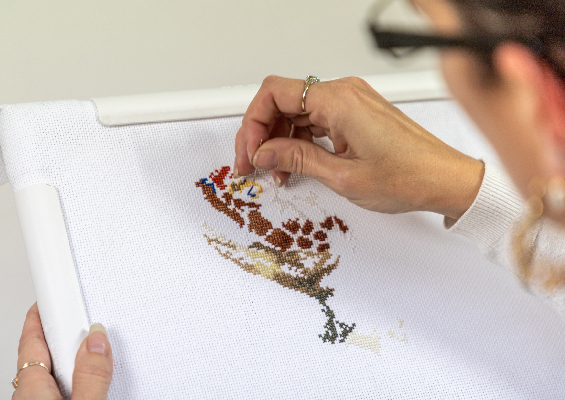
What is counted cross stitch embroidery?
Counted cross stitch embroidery is worked on blank fabric. To complete your project, you stitch by following a chart to reproduce the design onto the fabric. Simply follow the chart’s instructions stitch by stitch, starting from the center of both the fabric and the chart. See, it’s simple!
To complete your project properly, you need to follow the chart, along with the instructions telling you which stitches to make, in which color, with how many strands… losing you already? Let’s dive into the details, starting from the beginning.
How to choose a pattern?
To start, it’s best to choose a simple pattern so you don’t lose motivation before finishing. To avoid getting lost in what materials you need, we recommend choosing a kit that includes everything required for this first project. If you enjoy this craft, you can then build up a fuller collection of supplies.
We don’t assign a difficulty level to our projects. However, you can gauge how challenging one is based on a few factors: its size, the number of colors in the kit, and the fabric count (number of stitches per cm). For beginners, choose a small project with few colors and a fairly thick fabric such as Aida 4 or 5. And if in doubt, remember our customer service team is here to help. Find projects matching these criteria in our shop.
What’s inside a kit.
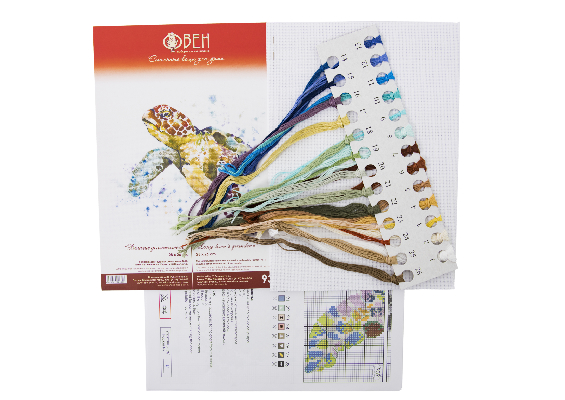
As a general rule, an embroidery kit contains everything needed to complete the project:
- The blank fabric, sometimes pre-printed with a design or motif that decorates the finished piece.
- The threads, usually mounted on an organizer card — don’t remove them from it right away.
- The chart or charts: depending on the size of your project or the brand, the chart may come in several parts, and finishing stitches (like backstitch) may appear on a separate chart.
Isabelle’s tip
Depending on the brand, instructions may or may not be available in English. Don’t let that put you off, though. First, because our customer service team is on hand to help if you run into any trouble, and second, because instructions vary very little from one kit to another. The rules for completing a project are always the same as explained here, and with just a couple of key vocabulary words, you’ll manage just fine. Google has released a translation app that lets you translate text straight from a photo on your phone — a handy extra tool if you need it.
The steps for making a counted cross stitch embroidery:
To make the process more enjoyable and easier, we recommend having these items close at hand:
– a pair of embroidery scissors
– a thread organizer
– a needle threader
– an embroidery frame or hoop.
Watch our step-by-step video on making counted cross stitch embroidery, and keep reading below for more details.
1 – Prepare the fabric:
Protect the fabric edges: If you’re working on a fairly large project that will take many hours, we recommend protecting the edges of your fabric to keep it from fraying. You can either overlock the edges or use an anti-fray sealant.
Find the center: In counted cross stitch, everything starts from the center. You absolutely must begin at the center of the project to properly balance your design on the fabric and avoid problems. To find the center of the fabric, simply fold it in half horizontally, then vertically, and mark the intersection of the two folds with a simple stitch or a heat-erasable pen. You can also run a basting thread every 10 stitches along both fold lines for extra reference points.
Note: some special patterns may not be centered. In that case, the starting point of the project is usually shown on the chart, and sometimes on the fabric itself. Pay close attention!
2 – The chart:
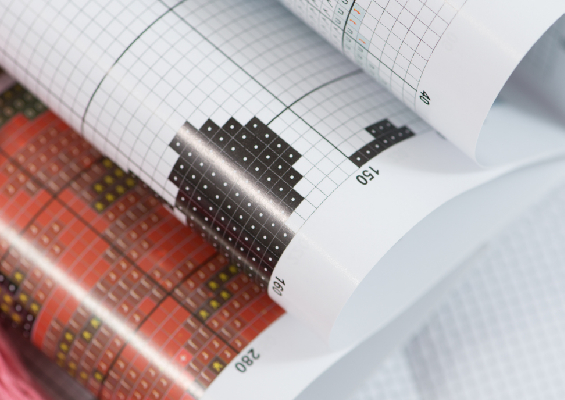
The chart is a diagram made up of colored squares or symbols, each representing one stitch on the finished piece. To use it, first find the key, which tells you the stitch type, the number of strands to use, and the color for each stitch. Then, just like with the fabric, locate the center of the design, sometimes marked with a dot. On many charts, you’ll find an arrow at the top and one on the side indicating the center of each line. Simply line up the two arrows to find the center of the design. That’s where you’ll start stitching.
Depending on the brand, charts may be printed in black and white or in color. We specify the type of chart included in the kit in the product description. Depending on the size of the project, the chart may come in several parts. If so, watch out for any overlapping areas and make sure to line up the pieces correctly when assembling them. Your kit may also include a second “finishing” chart showing the backstitch and other decorative stitches to be added once the cross stitch portion is complete.
3 – The threads:
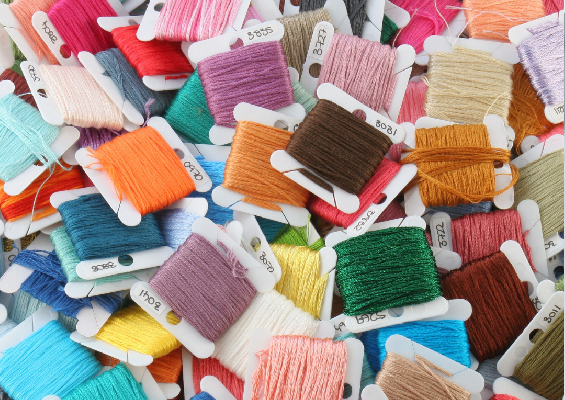
In kits, threads are usually sold pre-sorted and labeled on cards. Be careful not to remove them from these cards, or you’ll lose track of which thread is which. Since these organizers are fragile, for larger projects we recommend using a sturdier organizer or storage cards. When transferring threads, be sure to note the color reference immediately to avoid mix-ups.
Depending on the brand and pattern, we offer several types of thread in our kits: stranded cotton, acrylic, wool… We always specify the thread type in the product description. The most common thread used in counted cross stitch is stranded cotton. It’s made up of 6 separable strands and isn’t worked as a whole. Depending on the pattern and stitch type, the chart may tell you to work with 1, 2, or 3 strands. You’ll then need to separate the strands to make the stitch.
Isabelle’s tip
If you need to stitch with 2 strands, it’s best to use 1 strand folded in half. Also adjust the length of your working thread to the number of strands: the fewer strands, the more fragile your thread will be. So when stitching with a single strand, cut lengths of 20 cm maximum.
4 – The embroidery work:
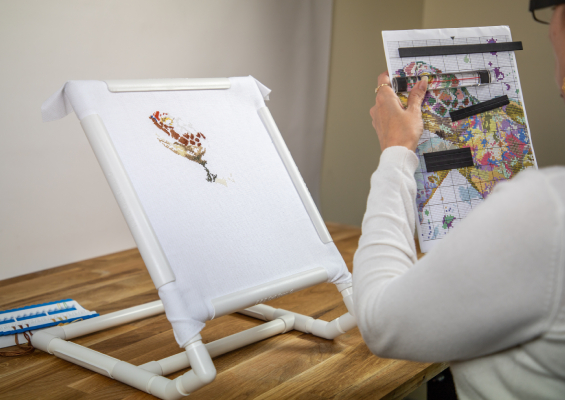
To stitch evenly and more easily, we strongly recommend using a frame or hoop to keep your fabric taut. Check out our detailed guide to choosing a frame.
The amount of thread included in embroidery kits is 15 to 20% more than what’s actually needed. Still, to make sure you don’t run short, follow these thread-saving tips closely:
– Stick strictly to the kit’s instructions and work with the specified number of strands.
– Use short working lengths to avoid damaging your thread — 30 to 40 cm maximum — and adjust based on the fabric and number of strands used.
– Always work “hole to hole.” Don’t pass your needle back through a hole that already has thread in it, as this wears your thread out much faster.
– Put your threads away as you go. If you separate strands, return the unused strands to the organizer right away. Same goes for finishing a length of thread.
– Don’t tie knots. To start or finish a thread, weave it under a few stitches on the back, leaving no more than 2 cm at the start or end.
– Don’t carry thread across the back of the work from one area to another if those areas are more than 2 cm apart. It’s better to finish off and start a new length further along.
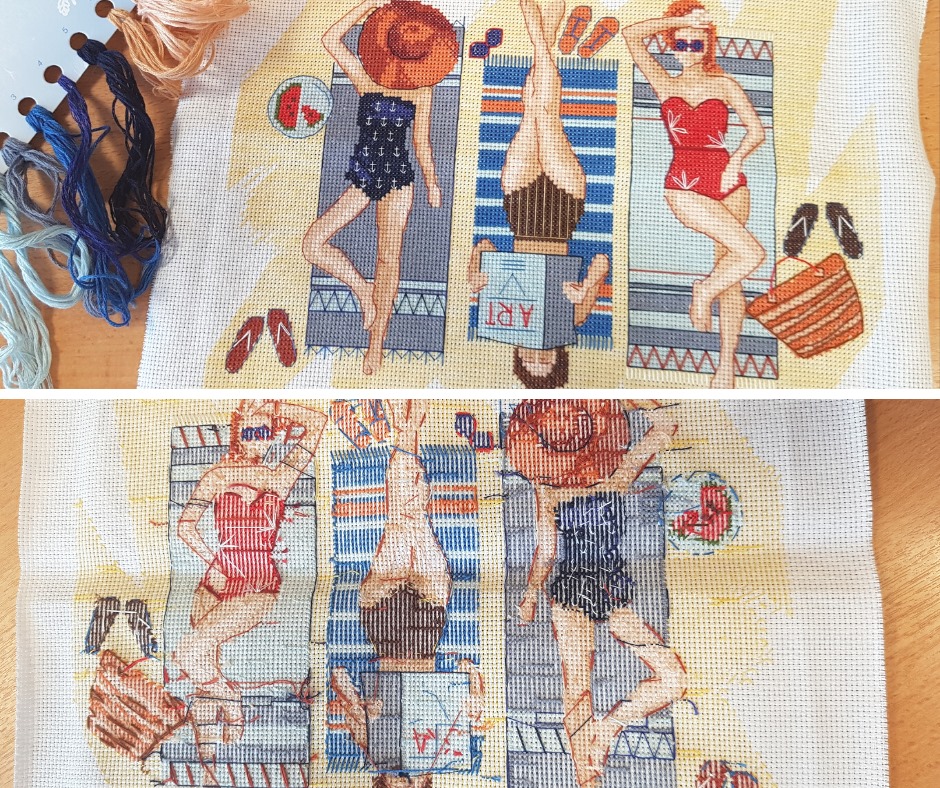
– The back of your embroidery should be neat, with no loose threads or bulky buildup, and you should be able to recognize the design.
5 – The stitches:
Cross stitch: In counted cross stitch, the most common stitch is, of course, the cross stitch itself. For a neater look, always make the top stitches face the same direction. You should have crosses on the front of the work and straight stitches on the back.
Half stitch: Often used to create a background effect, its direction is usually specified on the chart or in the key. It’s worked exactly like the first half of a cross stitch.
Backstitch: Backstitch is worked once the piece is finished. It’s used to outline shapes and add detail.
French knot: Like backstitch, it’s worked once the piece is finished and adds fine detail. The number of thread wraps is usually specified. If not, wrap the needle twice.
6 – Finishing:
Once the embroidery work is complete, depending on the kit’s instructions, you can wash the piece in lukewarm water with a little mild soap. Don’t use laundry detergent or Marseille soap. Lay flat to dry, then iron on the reverse side using a pressing cloth.
You can then turn your embroidery into a cushion, a framed piece, or whatever you like.
Our product picks for this tutorial
No need to look anywhere else, it’s all right here!
Did you enjoy this article?
Share it with friends and family
Discover more tutorials
You haven’t seen it all yet!
-
 frame Buying Guide , Tips and Tricks
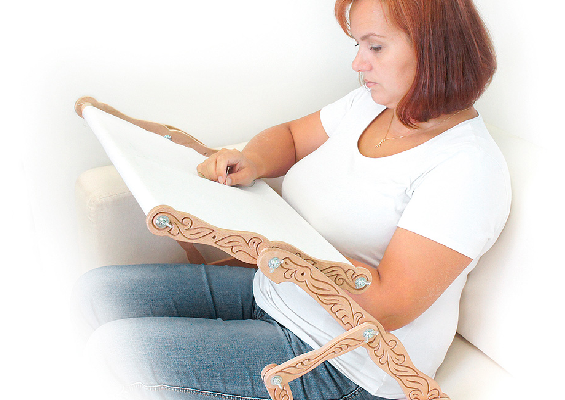
Which embroidery frame should you choose?
August 19, 2024
-
 magnifying lamp Buying Guide , Tips and Tricks
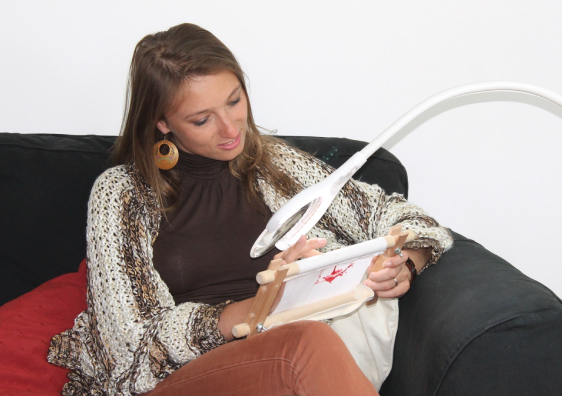
Which lamp or magnifying lamp should you choose?
June 28, 2024


