
With over 15 years dedicated to counted cross stitch and hand embroidery, she has tested thousands of kits, threads, and fabrics.

How to Needlepoint Canvas canvas
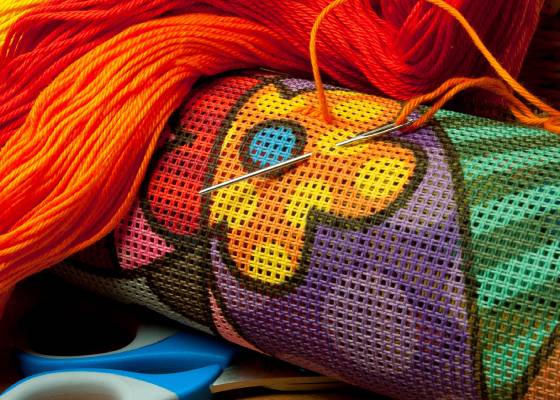
Tempted to try your hand at needlepoint canvas but not sure where to start? This article is for you! Materials, setup, embroidery techniques… we cover everything you need to know before getting started and successfully stitching your first canvas!
Based on an average intermediate design 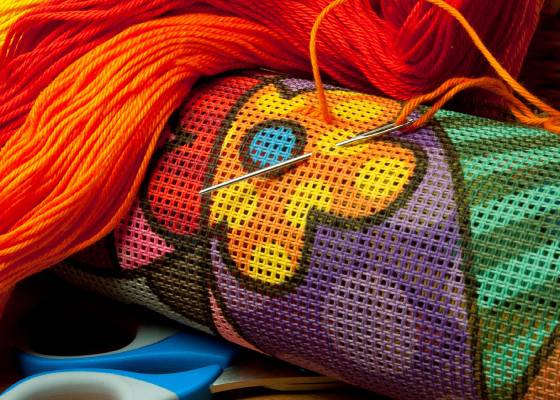
Materials needed and recommended for stitching a canvas:
- A canvas design and threads
- Needles and a needle threader
- An embroidery frame
- Embroidery scissors
What is a needlepoint canvas?
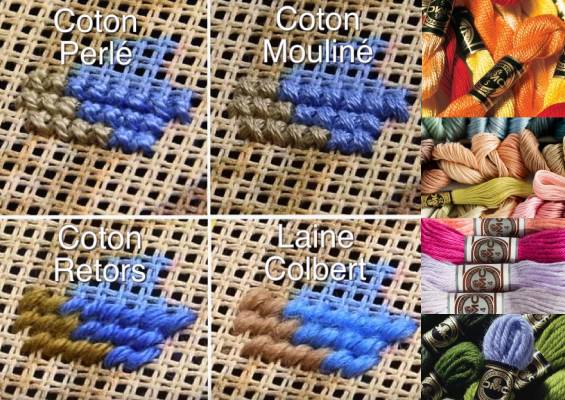
Needlepoint canvas is worked on Unifil or Penelope fabric, or on Soudan fabric for cushions. These fabrics feature a loosely woven single or double thread mesh that allows for needle embroidery. The design is painted directly onto the mesh. To stitch it, skeins of thread are used. At La Maison du Canevas et de La Broderie, we offer 4 types of DMC thread: Retors cotton, Colbert wool, stranded cotton (Mouliné) or Pearl cotton. The canvas can be sold on its own or together with the threads of your choice. When you choose your thread type, we supply the skeins in the colors and quantities specified by the suppliers.
Choosing your threads and the stitches used:
Each color in the design corresponds to a shade from the DMC or Anchor thread range. Thread choice depends on your personal taste and preferences. For a matte finish, use Retors cotton or Colbert wool worked in half cross stitch, and if you’d like a satin finish, it’s best to use Pearl cotton No. 5 or Mouliné Spécial stranded cotton. Depending on the thread thickness, canvases are worked in half cross stitch (Retors cotton and Colbert wool) or cross stitch (Mouliné and Pearl cotton).
Good to know:
Canvas designs are created before the colors are chosen. Some designs are even based on famous paintings. The colors are therefore selected afterward by our suppliers, based on the range of shades available for each thread type. As a result, there may be slight differences between the color shown in the design and the actual thread color.
The different steps for stitching a canvas:
To make the work more enjoyable and easier, we recommend having on hand:
– a pair of embroidery scissors
– a pack of size 20 tapestry needles (canvases are sold without needles)
– a needle threader
– an embroidery frame.
1 – Organize your threads:
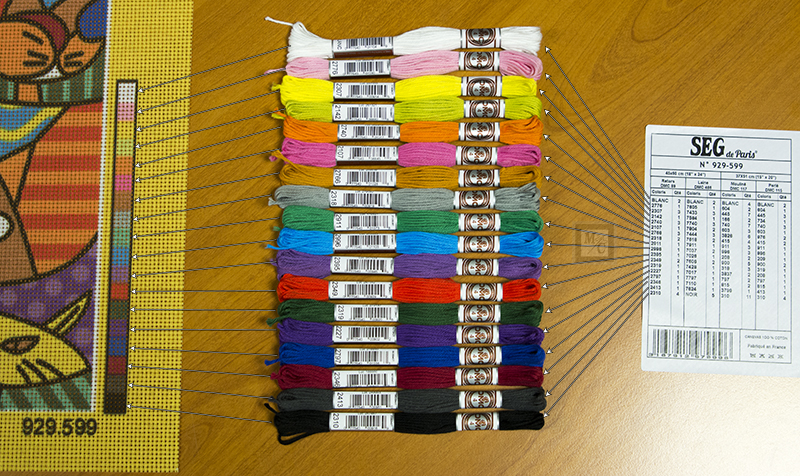
As mentioned, canvases can be sold on their own or with a set of threads included. These threads are prepared by our team, so they won’t come with a thread organizer showing color matches. You’ll need to sort your threads and identify which one corresponds to each color. To do this, you’ll find a color strip on the side of your canvas that matches the different shades used in your design. You’ll also have a label or chart listing the skeins needed for the project.
This list follows the same order as the color strip, so all you need to do is match the two up.
Isabelle’s tip
Thread a small strand of each color through its corresponding box. That way you’ll always have a reference thread on hand while you work.
2 – Setting up the canvas on a rotating frame
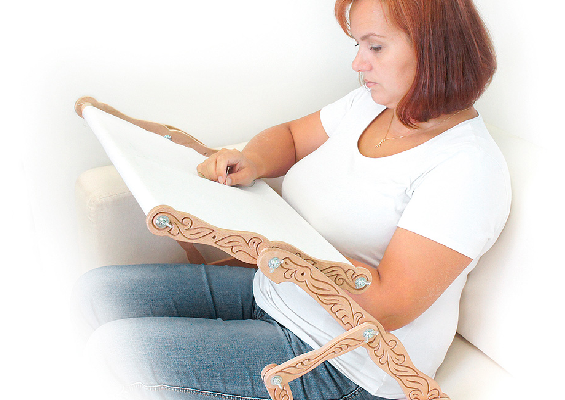
We also recommend using an embroidery frame to stretch the fabric so your stitches stay even and tight. This also makes the colors easier to see. Stitching evenly keeps your canvas from becoming distorted, which makes it much easier to frame later on. Setting up a rotating frame and mounting your canvas on it is incredibly simple!
3 – Stitching your canvas
To stitch your canvas, cut a length of thread no longer than 40 cm. Thread it through the eye of the needle using a needle threader for ease. Depending on the thread you choose, the canvas is worked in cross stitch or half cross stitch. Find out more about these stitches in our article on the types of thread used for needlepoint canvas.
The amount of thread included with each canvas is 15 to 20% more than what you’ll actually need. Still, to avoid running short, be sure to follow these thread-saving tips closely:
– Use short lengths of thread to avoid wear, no more than 30 to 40 cm.
– Work strictly “hole to hole.” Don’t pass your needle through the same mesh hole twice, as this wears down the thread much faster.
– Put your threads away neatly as you go.
– Don’t tie knots. To start or finish a length of thread, weave it under a few stitches and leave no more than 2 cm of tail at the start or end.
– Don’t carry thread across the back of the work from one area to another if those areas are more than 2 cm apart. It’s better to finish off and start again further along.
– The back of your canvas should be neat, with no loose threads or extra bulk, and the design should still be recognizable from behind.
Isabelle’s tip
We recommend starting your canvas at the top left (for right-handed stitchers) and working in horizontal bands. The idea is to avoid rubbing your arm over areas you’ve already stitched, which can damage them. Likewise, save the lightest colors for last to keep them from getting dirty.
Our product picks for this tutorial
No need to look anywhere else, it’s all right here!
Enjoyed this article?
Share it with your friends and family
Discover our other tutorials
There’s more to see!
-
 frame Buying guide , Tips and tricks
Which embroidery frame should you choose?
August 19, 2024


